Agent Creation
1. Click Administration > HR > Manage Employees
2. Click New to add a new user or search if you want to edit an existing user.
3. Fill up the form as needed.
4. Set the user role as AGENT, this will create an individual account for the agent with their own set of inventory.
5. Click Save to finish.
Add Suppliers or Vendors
Creating your vendors or suppliers is pretty easy. Just go to Administration > Inventory > Manage Vendors. We really only need the dealer code and dealer name. The rest of the info are all optional.
Add Product List
If you are starting from scratch, we usually recommend that you setup your product list first before adding your stock inventory. Doing it this way just gives you a better flow so that when you add your inventory, you will not be going back and forth between modules.
Watch this video on how to setup your products.
Warehouse Inventory
1. Click ADD STOCK from the sidebar
2. Select Vendor from drop down list
3. Scan the Product SKU
4. Enter the cost price and click ADD TO CART
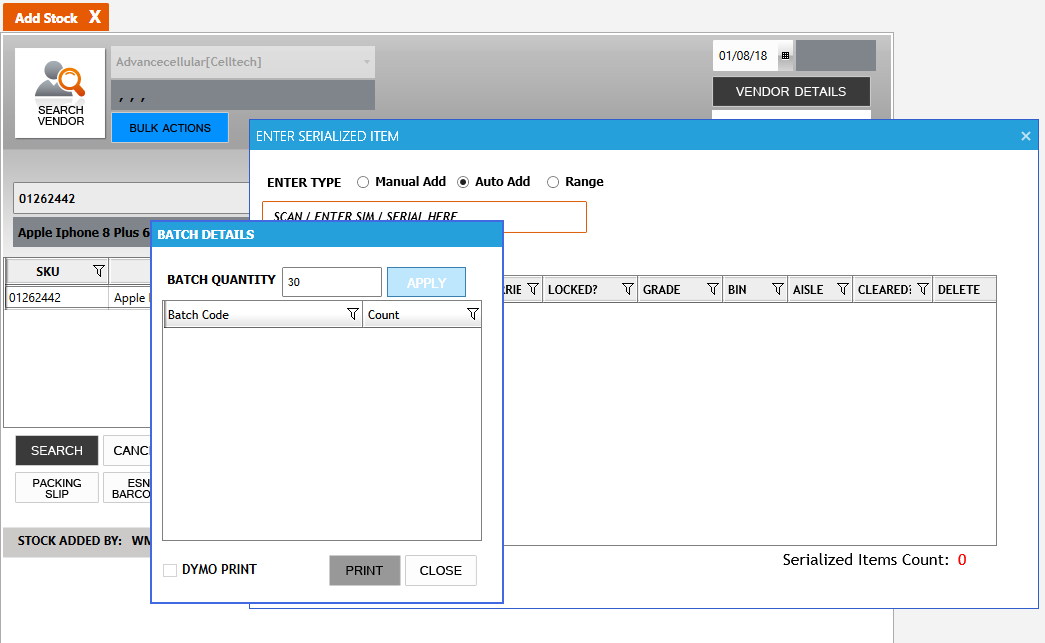
5. On the cart table, click on VIEW SERIALS
6. Click CREATE BATCH and enter how many phones per carton
7. Click APPLY
8. Start scanning the ESNs/IMEIs or SIMs. Once the batch count has been reached, the system will print a 4x6 ZEBRA label
9. Keep scanning until complete and SAVE INVENTORY to finish.

Sending Inventory to Agents
This feature greatly helps speed up inventory sharing between store locations
Watch this video on how to setup your products.
